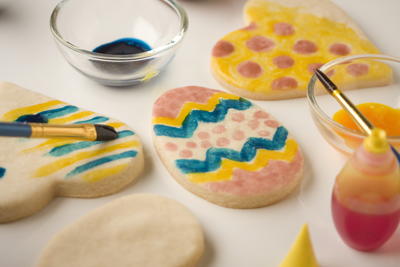
Hoppy Easter Egg Cookies

- MAKES
- 60
- CHILL TIME
- 1 Hr
- COOK TIME
- 15 Min
These Easter Egg Cookies are cute, colorful, and tasty! No more hunting for Easter cookie ideas to make for the family to enjoy, because these cookies are cute as can be. Plan to make these Easter egg cookies with the whole family, 'cause icing them is just like decorating Easter eggs: fun for the whole family! When you're done, just set these cute Easter desserts out on your dessert table and watch the whole gang dig in. And if you're looking for even more Easter recipe ideas, don't forget to check out our free cookbook full of 35 Excellent Easter Recipes!
What You'll Need
- 1 cup sugar
- 1 cup (2 sticks) butter, softened
- 3 tablespoons milk
- 1 teaspoon vanilla extract
- 1 egg
- 3 cups all-purpose flour
- 1 1/2 teaspoon baking powder
- 1/2 teaspoon salt
- 2 egg yolks
- Few drops each of yellow, red, blue, and green food color
What to Do
-
In a large bowl, combine sugar, butter, milk, vanilla, and egg until well mixed. Stir in flour, baking powder, and salt; mix well. Cover with plastic wrap. Refrigerate 1 hour.
-
Preheat oven to 375 degrees F. Coat baking sheets with cooking spray.
-
On a lightly floured surface, roll out 1/4 of dough at a time to 1/8-inch thickness. Keep remaining dough refrigerated until ready to use. Cut out egg shapes with an oval cookie cutter (see Note) and place on prepared baking sheets.
-
Bake 6 to 9 minutes, or until edges are light brown. Turn off oven. Immediately loosen cookies, but leave on baking sheets.
- Decorate by beating egg yolks and dividing them into 4 small cups. Put a few drops of each food color into separate cups, one color per cup. Using a NEW, non-toxic, small model brush, paint each cookie to resemble an Easter egg. Return cookies to still warm oven 5 minutes to set egg paintings.
Notes
-
If you don't have an oval cookie cutter, use an empty 6-ounce frozen juice can with the top and bottom removed. Pinch the sides in slightly to make an oval shape and, presto...you now have an oval cookie cutter.
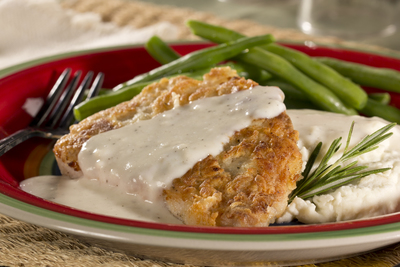
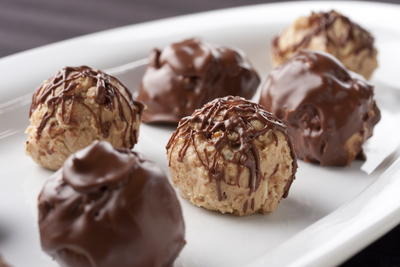
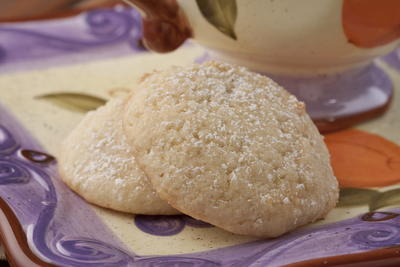
Read NextPecan Tassies